
So, to begin with I use white acrylic to tie my yarn together - this stops it from becoming noodle soup during the dyeing process. I find white acrylic best as it doesn't absorb the dye, and the colour doesn't run. It's also important to not tie the loops too tight, or you will be left with white patches in your colour.
Once the yarn is tied, I soak it in room temperature water, with a cup of vinegar. This cleans up any dirt or grease, allowing the yarn to be more absorbent to the dye. The vinegar also helps the yarn take the dye, and can soften up rough bases.
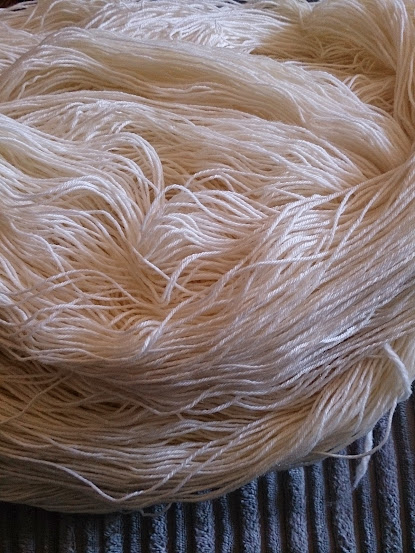
After about an hour I take the yarn from the vinegar bath, make sure I squeeze out all of the water, and lay each damp skein separately on cling film.
Then I mix up the dyes that I want to use - you can use almost anything to dye yarn with. In the past I've used Kool Aid, vegetables and Wilton's food dye. Next I apply the dye like I am painting. Adding the colours individually and blending as I go. I find it's best to use light colours first, and then add the dark colours - this means if you spill any drops of light dye then you can cover them with the darker colours.
Once the yarn is completely covered in dye - I wrap it in cling film. I do this by adding another layer on top of the yarn and then rolling the yarn inside it, so the colours are all completely isolated. This is one of the most important steps for me, because I love dyeing yarn with natural tones mixed in. If you don't isolate the different colours, then they can run during the heating process and discolour your yarn.
Then you pop the wrapped up yarn into a microwaveable tub. I also find it useful to have a container with two sections (rather than just a plain old tub) because this means I can separate out the dark and light colours. I microwave the yarn in two minute intervals - so microwave for 2 minutes, stand for 2, microwave for 2, stand for two etc. until the excess water runs clear.
I let the yarn stand for around 10 minutes - then carefully unwrap it (watch out for the steam, it's boiling hot!). I then let it cool completely. Next the yarn gets soaked in a cold water bath, with wool wash such as Soak or Eucalan. This helps to ensure colourfastness, and also makes the yarn smell nice!
The final step is to hang the yarn out in the sunshine, and let it dry!
0 comments:
Post a Comment